03 Bio-Sand Filter Pot – Making Your Own
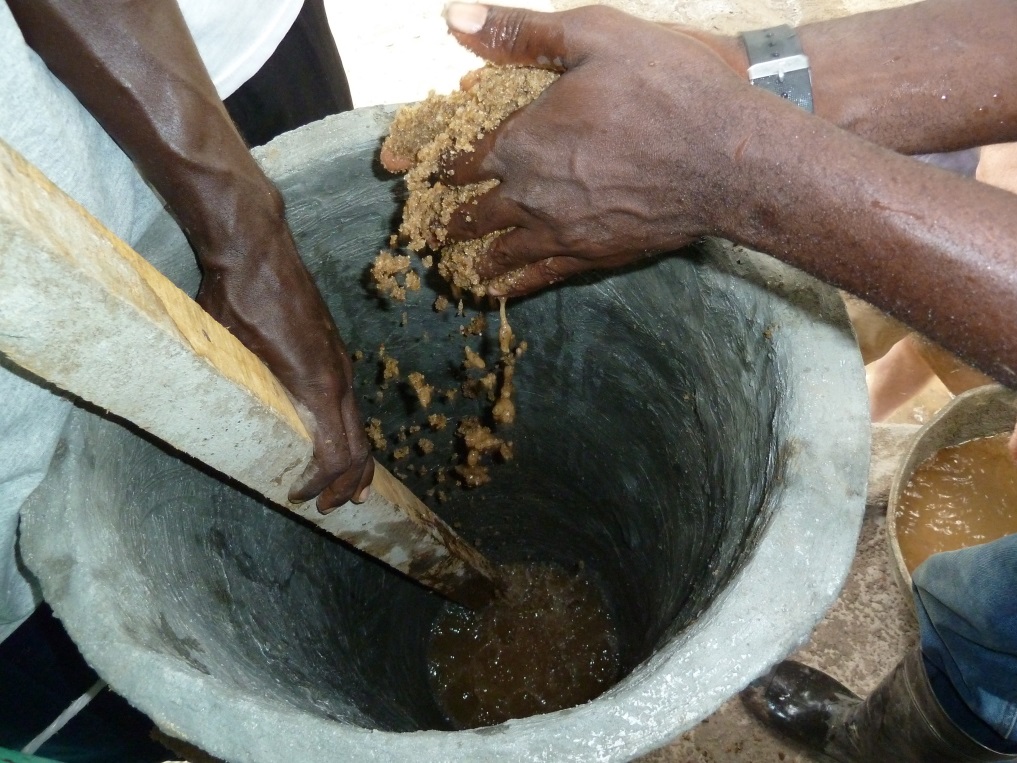
This article tells you how to make any suitable container into a bio-sand filter.
Choosing a suitable Container
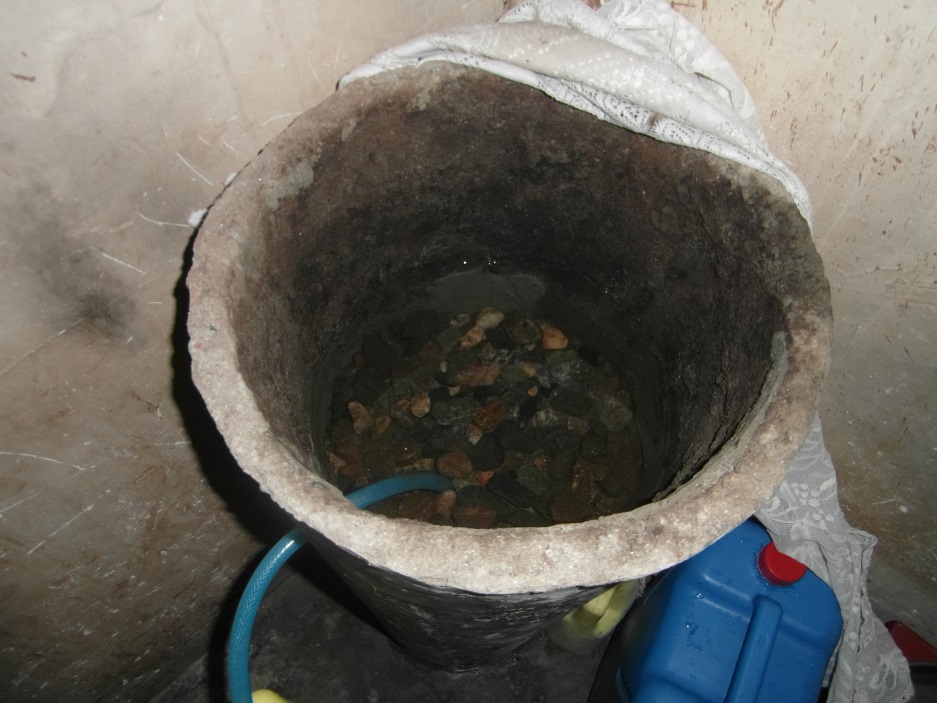
A bio-sand filter container must be water tight and have a depth of at least 28 inches (70 cm). Unfortunately this is deeper than most readily available containers. The container needs a piece of hose pipe which rests on the bottom of the container and passes out through a tight hole 24 inches (60cm) up from the bottom. The hose must have a water-tight fit where it goes through the side of the container. You could use cement, putty or chewing gum to make it water-tight.
The rest of this article assumes you have a container about 32 inches deep (80 cm) and about 12 inches inside diameter (30 cm). The next article tells you how to make your own filter pot.
Placing the pot in your house
Put the empty filter pot inside your house, where the sun will never shine on it. The pot may need to stand on one or more layers of bricks to get it high enough for the hose to run into a jerry can. Make sure it is upright and does not wobble.
Stones
Gather about two handfuls of each of the following size of stones: Thumb-nail size, little-nail size, pea size, passion fruit seed size. You can separate any sand from the stone sizes by swirling them with water in a bowl.
- Wash the stones and spread them in the sun for one day to kill off bugs.
Filtration Sand
You need about 2 large basins of sand.
Crushed rock from a quarry is the best type of filtration sand since it will be free of bugs and organic material. The next choice is sand from high on the banks of a river (that has not been in the water), followed by sand found in the riverbed itself. The last choice is beach sand.
If the sand is contaminated with organic matter the sand may have to be baked over a fire to a very high temperature to burn it off. Afterwards, wash it to remove the burnt material.
Beach sand needs thorough washing to remove the salt. Then bleaching and burning to remove organic material.
When you pick up a handful of the sand, you should be able to feel the coarseness of the grains. You should be able to clearly see the individual grains, and the grains should be of different sizes and shapes, up to 1mm across.
The fine sand used for the deep top layer should be as fine as possible (between .35 mm and .15 mm gauze-size). Sand that is too fine will make a slow filter; sand that is too course will not form a bio-layer and will not work. The simplest way to check this is to measure the flow rate after the filter has been filled.
- Wash the sand by running water through the sand held in a fine-weave cloth or by swirling in a bucket or bowl. Stop washing the sand when the water is like lemon juice.
- After washing the sand, spread it in a thin layer in the sun for one day to kill off bugs.
Layering the stones and sand
As you fill the pot with stones and then sand it is essential that no air is trapped. So add no more than 1 inch at a time into a covering of water. Never let the water cover become less than 2 inches as you build up the layers. Do not add the next layer until air bubbles have stopped rising out of the previous layer.
Before adding the first layer of stones, make sure the hose pipe is in place and touching the bottom of the pot and pour in about 4 inches of water.
- Put a single layer of thumb-nail size stones in the bottom of the pot (big enough not to plug the hose pipe). The bottom of the hose should be below the top of this layer of stones. You may need to hold the hose in place with a stick until there is enough sand to hold it in place.
- Then add enough little-nail size stones to completely cover the larger stones.
- Then add enough pea size stones to completely cover the stones below.
- Then add about a 1 inch layer of passion fruit seed size stones. You should now have a combined layer about 2” deep. Make sure you add more water as required to keep a minimum 2” cover.
- Now add 2 inches of course sand.
- Now add the fine sand about 1 inch at a time, waiting for the bubbles to stop, up to 3 inches below the bottom of the hole for the hose.
Flow-Rate Test
- Add water up to about 3 inches below the top of the pot and once the water starts flowing out of the hose, time how many seconds it takes to fill a coke bottle.
| 330ml bottle | 500ml bottle |
|---|---|
| 45 secs to 2 minutes | 70 secs to 3 minutes |
If it takes less time you will need to replace the top 8” sand with finer sand, or you must use a top-pot (see later). If it takes more time you need to use coarser sand for the top 8 inches.
- If you are NOT using a top-pot add a single layer of thin flat stones on top of the sand. There must be 1-2” between the top of these stones and the bottom of the hose hole. If necessary, remove some sand.
- If you are NOT using a top-pot, cover the filter pot with a fine weave cloth and tie the cloth to prevent insects getting in. The cloth should not be stretched tight, but pressed down a little into the pot. When you add water, pour it SLOWLY onto this cloth. You must not disturb the sand when adding water to the pot. Otherwise, put your top-pot on top and cover that with a cloth or plate.
- For the first 4 weeks add 1-2 gallons of water 4 times a day. Then measure the flow rate again. If it takes less time you will need to replace the top 8” sand with finer sand, or you must use a top-pot
| 330ml bottle | 500ml bottle |
|---|---|
| 60 secs to 4 minutes | 90 secs to 6 minutes |
Check-List
- No signs of leaks
- Filter sand is clean
- Hose is in proper place
- Hose is a water-tight fit in the hole
- Single layer of large stones on top if you don’t have a top-pot
- 2” water covers stones below hole.
- Flow rate when water added directly to the filter pot is ……………………………… seconds for 500/330ml
- Top pot is installed. Flow rate when water added to top-pot is …………………… seconds for 500/330ml
- Area is clean and pot is covered
- Leave cloudy water to stand before pouring into the top pot.
The next article tells you how to make your own filter pot.


